こんにちは、 @kz_morita です。
今回は Rust の Web アプリケーションフレームワークである、actix-web を触ってみたので簡単にまとめていきます。 最初に Hello World として、文字を表示した後に、HTML テンプレートを表示し、最後にエラーページを返す方法を説明します。
今回実装した内容はこちらのリポジトリに push してあります。 https://github.com/foresta/actix-web-sample
actix-web
公式リポジトリはこちらです。
Rust のアクターモデルのフレームワークである Actix の上で作られたフレームワークになります.
環境
$ rustc -V
rustc 1.39.0 (4560ea788 2019-11-04)

$ cargo -V
cargo 1.39.0 (1c6ec66d5 2019-09-30)
※ 1.39 で stable に入った、async / await を使用していきますのでバージョンに注意してください。
Hello World
まずは、localhost にアクセスしてレスポンスが返ってくるところまでを作ってみます。 Rust の開発環境は整っているという前提ですすめます。
さっそくプロジェクトを作成します。
$ cargo new actix-web-sample
$ cd actix-web-sample
Cargo.toml に actix-web と、actix-rt を追加します。
[package]
name = "actix-web-sample"
version = "0.1.0"
authors = ["kz_morita <kz.morit@gmail.com>"]
edition = "2018"

# See more keys and their definitions at https://doc.rust-lang.org/cargo/reference/manifest.html

[dependencies]
actix-web = "2"
actix-rt = "1"
実際に main.rs にコードを書いていきます。コードの全体は以下のような感じです。
use actix_web::{web, App, HttpServer, HttpResponse, Error};

async fn index() -> Result<HttpResponse, Error> {
    Ok(HttpResponse::Ok().content_type("text/plain").body("Hello World"))
}

#[actix_rt::main]
async fn main() -> std::io::Result<()> {
    HttpServer::new( || {
        App::new()
            .service(web::resource("/").to(index))
    })
        .bind("localhost:3000")
        .expect("Can not bind to port 3000")
        .run()
        .await
}
main 関数には、actix_rt::main の Attribute をつけて、async をつけます。io::Result<()> を返すようにするのも忘れないようにします。
#[actix_rt::main]
async fn main() -> std::io::Result<()> {

    // ...
}
次に、main 関数の中身ですが、HttpServer::new をして、サーバーを初期化し、bind("localhost:3000") で URL を紐づけ、 run() で実行します。末尾に await もつけます。
この await は、async がついた関数ないでしか使用できないので、main 関数に async をつけます。
    HttpServer::new( || {
        App::new()
            .service(web::resource("/").to(index))
    })
        .bind("localhost:3000")
        .expect("Can not bind to port 3000")
        .run()
        .await
ルーティングなどの設定は、App クラスにしていきます。
        App::new()
            .service(web::resource("/").to(index))
ここでは、localhost:3000/ に index というハンドラを紐づけています。
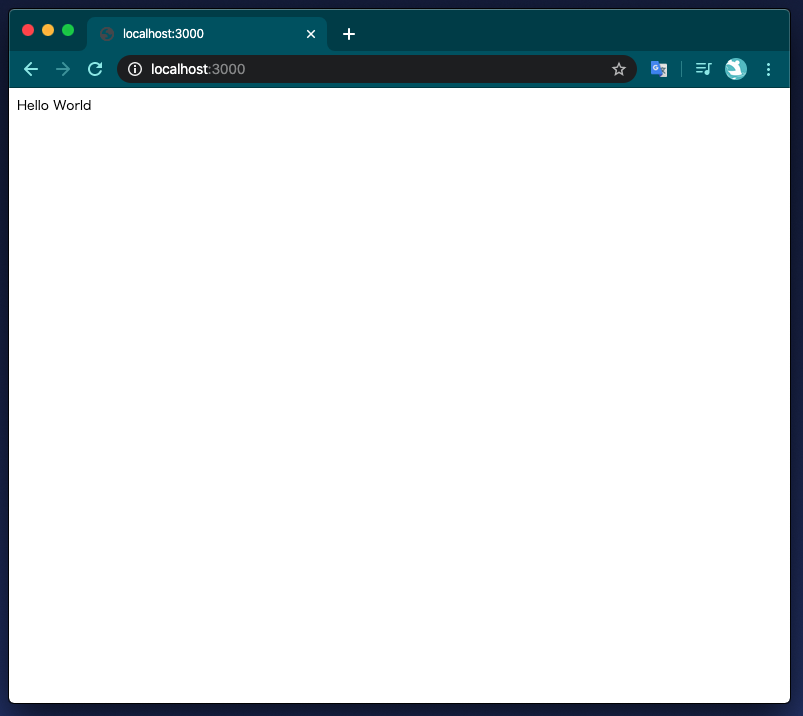
index ハンドラでは、HttpResponse をステータス OK で作成し、Hello World という文字を返します。
async fn index() -> Result<HttpResponse, Error> {
    Ok(HttpResponse::Ok().content_type("text/plain").body("Hello World"))
}
こちらを実行すると、以下のように表示されます。
HTML テンプレート
つぎに HTML テンプレートを使用してみます。
今回は Rust の HTML テンプレートエンジンである、 Tera を使用します。 まずは、Config.toml に設定を追加します。
Config.toml
# ...

[dependencies]
actix-web = "2"
actix-rt = "1"
tera = "1.0" # <- 追加
次に、テンプレートを入れるようのディレクトリを作成して、その中に、index.html.tera という名前でファイルを作成します。
.
├── Cargo.lock
├── Cargo.toml
├── src
│   └── main.rs
├── target
└── templates # 追加
    └── index.html.tera # 追加
そしたら、App に Tera のインスタンスを設定します。
use actix_web::{web, App, HttpServer, HttpResponse, Error, error};
use tera::Tera;

// ...

#[actix_rt::main]
async fn main() -> std::io::Result<()> {
    HttpServer::new( || {
        // templates ディレクトリを指定して、Teraを初期化
        let templates = Tera::new("templates/**/*").unwrap();

        App::new()
            .data(templates) // handlerから参照できるように保持
            .service(web::resource("/").to(index))
    })
        .bind("localhost:3000")
        .expect("Can not bind to port 3000")
        .run()
        .await
}
ここまでで準備は完了なので、実際に index handler で template をレンダリングして返します。
use actix_web::{web, App, HttpServer, HttpResponse, Error, error};
use tera::Tera;

async fn index(tmpl: web::Data<Tera>) -> Result<HttpResponse, Error> {
    let mut ctx = tera::Context::new();
    // kz_morita という名前を変数としてテンプレートに渡す
    ctx.insert("name", "kz_morita");
    let view =
        tmpl.render("index.html.tera", &ctx)
            .map_err(|e| error::ErrorInternalServerError(e))?;

    Ok(HttpResponse::Ok().content_type("text/html").body(view))
}
ここで前回から変更があったのは以下の 3 点です。
- index 関数の引数に、
tmpl: web::Data<Tera>とすると、初期化したテンプレートエンジンが渡される - template 側へデータを渡すには、
tera::Contextを用いる tmpl.renderで HTML をレンダリングする
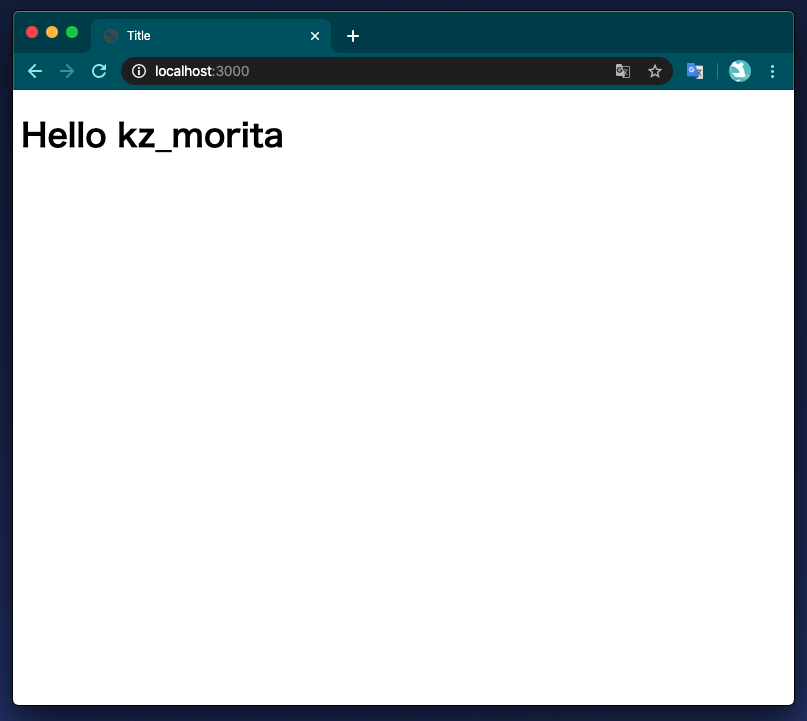
これを実行すると以下のように HTML として表示されます。
404 ページ
次に、エラーハンドリングと 404 ページの表示についてみていきます。
まずは、静的ページを入れる用の static ディレクトリを作成し、以下のような内容の html ファイルを作成します。
static/errors/404.html
<!DOCTYPE html>
<html lang="en">
  <head>
    <meta charset="UTF-8" />
    <title>Title</title>
  </head>
  <body>
    <h1>404 Not Found.</h1>
  </body>
</html>
そして、静的ファイルを扱うために、actix-files を使用するので、Cargo.toml に追記します。
[dependencies]
actix-web = "2"
actix-rt = "1"
tera = "1.0"
actix-files = "0.2.1" # 追加
それでは、エラーハンドリングを追加します。
まずは、App に対して middleware を追加します。
use actix_web::middleware::{errhandlers::ErrorHandlers, errhandlers::ErrorHandlerResponse};

// ...
async fn main() -> std::io::Result<()> {
    HttpServer::new( || {

        // error_handlers に, not_found 関数を 404 のときの handler として登録
        let error_handlers = ErrorHandlers::new()
            .handler(http::StatusCode::NOT_FOUND, not_found);

        let templates = Tera::new("templates/**/*").unwrap();

        App::new()
            .data(templates)
            .wrap(error_handlers)
            .service(web::resource("/").to(index))
    })
    // ...
}
上記では、404 のステータスコードの時に、not_found 関数を handler として登録しています。
not_found 関数の中では、先ほど用意した、404.html を NamedFile::open を用いて、取得し response として返しています。
fn not_found<B>(res: dev::ServiceResponse<B>) -> actix_web::Result<ErrorHandlerResponse<B>> {
    let new_resp = fs::NamedFile::open("static/errors/404.html")?
        .set_status_code(res.status())
        .into_response(res.request())?;
    Ok(ErrorHandlerResponse::Response(
        res.into_response(new_resp.into_body()),
    ))
}
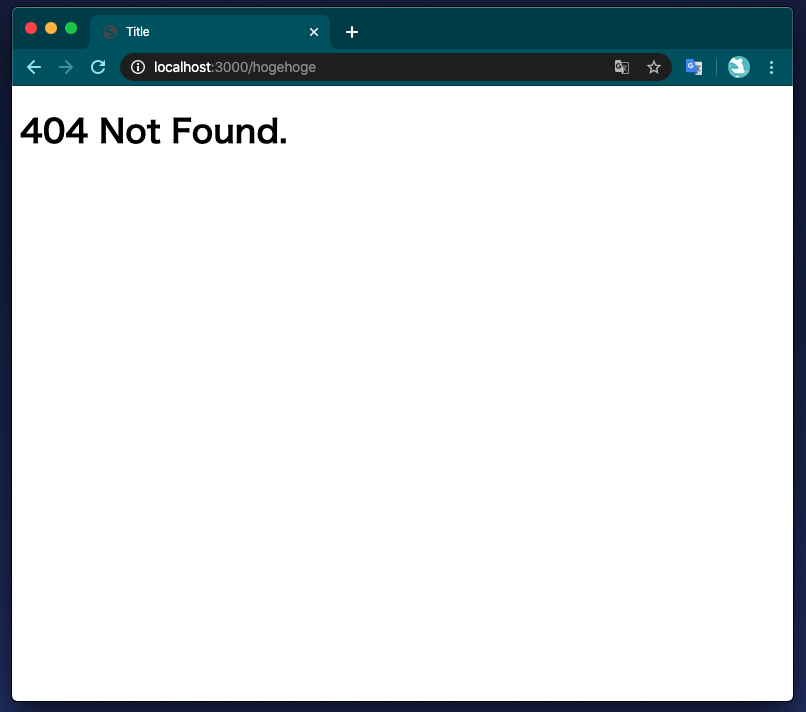
これで実行すると以下のようになります。
まとめ
今回は、actix-web を触ってみて、基本的な動きを確認してみました。Rust で Web アプリケーションというイメージはあまりなかったのですが、普通につかいやすそうな印象でした。
あとは、actix-web をもう少し深く触ってみるのと、他の Web アプリケーションフレームワークも触ってみたいと思います。